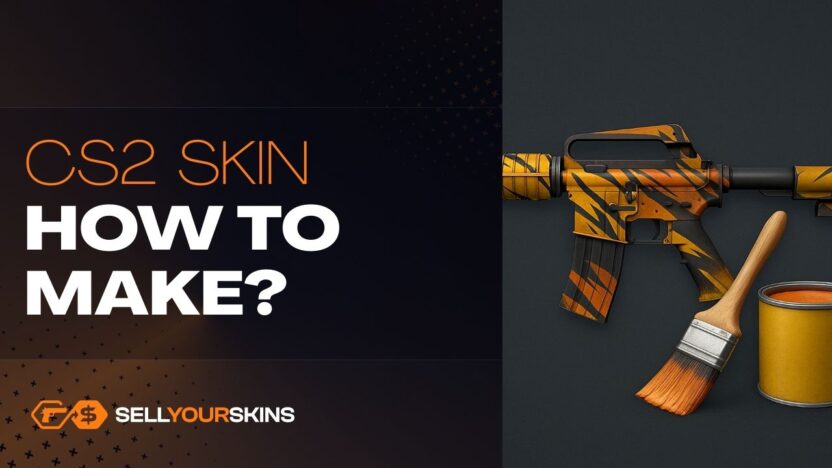
Making your own CS2 skin is a rewarding creative process. From sketching an idea to uploading it to the Workshop, every step allows you to learn something new. Whether you aim to create a legendary Dragon Lore-level design or just want to decorate your favorite pistol, the tools are there for everyone. Who knows – your design might be the next iconic skin in Counter-Strike 2.
Why create your own skin?
Counter-Strike 2 is famous for its massive skin economy. From colorful rifles to iconic knives, skins have become a part of CS2 culture. But what if you could design your own? Thanks to the Steam Workshop, it is possible. Many of the most popular skins in the game started as fan creations, later accepted by Valve and added officially. Creating a skin is not just about style – it is about expressing creativity and joining a global community of artists. And if your design gets accepted, it can even become part of a case and generate real money.
Step 1: Understand the basics
Before you start, you need to know what a skin actually is. In CS2, every skin is basically a texture applied to a weapon model. These textures can be simple colors, complex patterns, or detailed artworks. They are combined with the 3D model of the weapon and rendered inside the Source 2 engine. There are different finish styles available in the Workshop, such as:
- Custom Paint – full custom designs painted onto the weapon.
- Pattern Finish – repeating patterns that look different on each drop.
- Anodized or Metallic – skins that simulate shiny metal or gradients.
Knowing which type you want is the first decision in the process.
Step 2: Install the necessary tools
To make a CS2 skin, you will need a few programs:
- Counter-Strike 2 Workshop Tools – available directly from Steam. They include the official weapon models and exporting options.
- Image editing software – such as Photoshop, GIMP, or Krita. These allow you to create and edit textures.
- VTF plugin or converter – for converting your artwork into a format used by Source 2.
Once installed, you can open the official weapon models and start applying your design ideas.
Step 3: Work with templates
Valve provides official templates for most weapons. These are flat texture maps that show you exactly how your design will wrap around the 3D weapon. It may look confusing at first, but with practice you will learn which parts of the texture map correspond to the barrel, magazine, or stock. Always test your design in 3D preview to make sure it looks good from all angles. What looks perfect on a flat canvas might look strange once applied to the actual model.
Step 4: Create your design
This is where creativity takes over. You can use digital brushes, patterns, or even scanned drawings to build your skin. Popular approaches include:
- Minimalistic designs – clean shapes and simple colors.
- Thematic skins – based on animals, mythology, or futuristic tech.
- Pattern-based skins – repeating textures that give each drop a unique look.
Remember that Valve usually prefers skins that fit the CS2 aesthetic: not too realistic, not too cartoonish. A good balance between creativity and style has the highest chance of success.
Step 5: Test your skin in CS2 Workshop Tools
After finishing your texture, you can import it back into the Workshop Tools. Here you will see how it looks under CS2 lighting. Adjust colors, brightness, and contrast to make sure the skin works well in different maps and lighting conditions. You can also try different wear levels (Factory New, Minimal Wear, Battle-Scarred). Some skins are designed to look better when worn out, while others shine when brand new. Testing all wear levels is important.
Step 6: Upload to the Steam Workshop
Once you are happy with the design, it is time to share it with the world. Use the Workshop Tools to package your skin and upload it to the Steam Workshop. Add screenshots, a short description, and tags that fit your style. Players can vote on your creation. The more attention and positive ratings your skin gets, the higher the chance Valve will notice it. Skins with strong community support are often added into official cases.
Step 7: Join the community
The CS2 skin scene is not only about making art, but also about sharing it. Join communities on Reddit, Discord, or Steam to get feedback and improve your skills. Many successful creators started with simple designs and grew by learning from others. Collaboration is also common. Some artists specialize in 2D textures, while others are great at 3D previewing or marketing. Working together increases the chances of success.
Tips for success
- Keep it original – avoid copying popular designs. Valve looks for fresh ideas.
- Think about gameplay – a good skin should not distract players too much.
- Polish the details – small mistakes are noticeable in-game.
- Stay patient – not every skin gets accepted, but every attempt is a chance to improve.


